
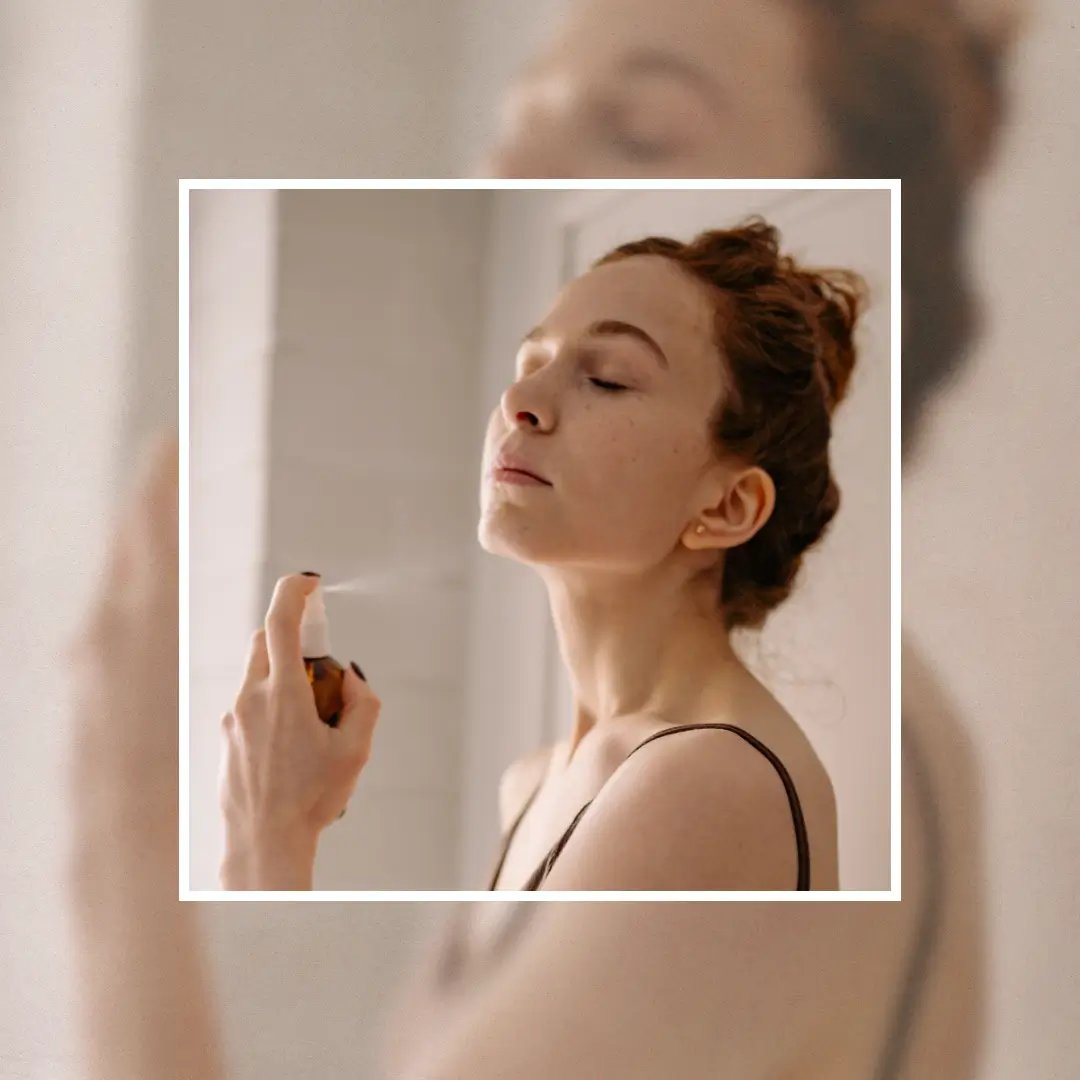
I’ve always had a soft spot for face mists.
They’re the kind of beauty product that feels a little indulgent, but once you start using one, it quickly earns a permanent spot on your bathroom shelf (and your desk and your nightstand…).
PIN FOR LATER 📌

Lately, I’ve been reaching for a DIY version with one of my favorite ingredients: green tea.
If you haven’t tried it yet, green tea is packed with antioxidants that help calm and refresh the skin, perfect for those days when your face needs a little extra love.
And making your own mist couldn’t be easier. You get all the benefits without spending $50 on a tiny bottle that runs out in two weeks!
So if you’re looking for a simple way to upgrade your skincare routine—or just want a little boost throughout the day—this DIY green tea face mist is well worth adding to your mix.
What Are The Benefits Of Green Tea For Skin?
Green tea has long been one of those beauty-world staples that’s stood the test of time, for good reason.
It’s packed with natural compounds (hello, antioxidants, and polyphenols) that offer a whole range of skin benefits. And the best part? It works beautifully for nearly every skin type.
Here’s why it’s worth incorporating into your routine:
- It helps calm irritation – Green tea contains anti-inflammatory properties that can help soothe redness, sensitivity, and irritation. If your skin tends to throw little temper tantrums (mine certainly does from time to time), green tea can help take it down a notch.
- It’s rich in antioxidants – The antioxidants in green tea, especially EGCG (epigallocatechin gallate), help protect skin from free radicals caused by sun exposure and pollution. In short, they help keep your skin looking fresh, healthy, and more resilient.
- It supports clearer skin – Thanks to its antimicrobial and anti-inflammatory properties, green tea can be a helpful ingredient for those dealing with breakouts. It won’t replace your acne treatments, but it can be a gentle way to support clearer, calmer skin.
- It hydrates and refreshes – When used in a face mist, green tea delivers a light layer of hydration and a cooling effect that feels especially good in warmer weather, or anytime your skin needs a quick pick-me-up.
- It’s gentle and non-stripping – One of my favorite things about green tea is that it plays well with other ingredients and doesn’t leave skin feeling dry or tight. So you can easily add to your routine without having to overhaul everything else you’re using.
With all that in mind, making your own green tea face mist is a no-brainer—and luckily, it couldn’t be easier. Here’s exactly how I do it.




How To Make Your Own Green Tea Face Mist
You don’t need a complicated recipe or fancy tools for this—just a few simple ingredients and about ten minutes of your time.
I usually make a fresh batch every couple of weeks and keep it chilled in the fridge (trust me, it feels amazing on a warm afternoon).
Here’s what you’ll need:
- 1 green tea bag (choose a good-quality, pure green tea with no added flavors)
- 1 cup filtered water
- 1–2 teaspoons of aloe vera gel (optional, for extra hydration)
- A few drops of rose water or a skin-safe essential oil (optional, for a subtle scent)
- A small spray bottle (clean and sterilised)
Instructions:
- Brew the green tea – Bring your water to a gentle boil and steep the tea bag for about 5–10 minutes, depending on how strong you want it. The longer you steep, the more concentrated the antioxidants will be.
- Let it cool – Once brewed, remove the tea bag and let the tea cool completely to room temperature. This part is key—you don’t want to add hot liquid to your spray bottle (or your skin).
- Mix in extras – If you’re adding aloe vera gel or rose water, stir them in now. Aloe gives the mist a subtle hydrating boost, while rose water adds a calming, spa-like scent. You can also add a drop or two of an essential oil you love, though I usually skip this if my skin is feeling sensitive.
- Pour into your spray bottle – Use a funnel if you have one—it makes the process less messy. Seal the bottle, give it a gentle shake, and you’re all set.
- Store it properly – Since this is a fresh DIY product with no preservatives, I recommend keeping it in the fridge and using it within 1–2 weeks. Besides, a cool spritz always feels better anyway.
RELATED: How To Make Rose Water At Home For Dry Skin
How To Use Your Face Mist
The beauty of a face mist is how versatile it is—you can use it throughout your routine or anytime your skin needs a refresh. Here are 4 ways I love to work it in:
- As a prep step: Spritz your face right after cleansing, before applying serums or moisturizer. This helps your skin absorb the next layers more effectively (think of it like giving your skin a drink of water first).
- To set makeup: A light mist after applying makeup can help everything meld together for a more natural, dewy finish. Just hold the bottle about 8–10 inches away and spray gently.
- For an instant refresh: Keep a bottle on your desk, in your bag, or in the fridge for a midday pick-me-up. A cool mist is perfect for calming your skin after a workout, long flight, or just a stressful day.
- Before bed: I often give my skin a quick mist as part of my nighttime routine. It feels soothing and helps lock in moisture, especially if you’re sleeping in air conditioning or during drier months.
The key is to use a light hand—you want a fine, even mist across your face, not a full-on soak. And if you’re keeping your DIY green tea version in the fridge, it’ll become your favorite summer skincare ritual—trust me!