
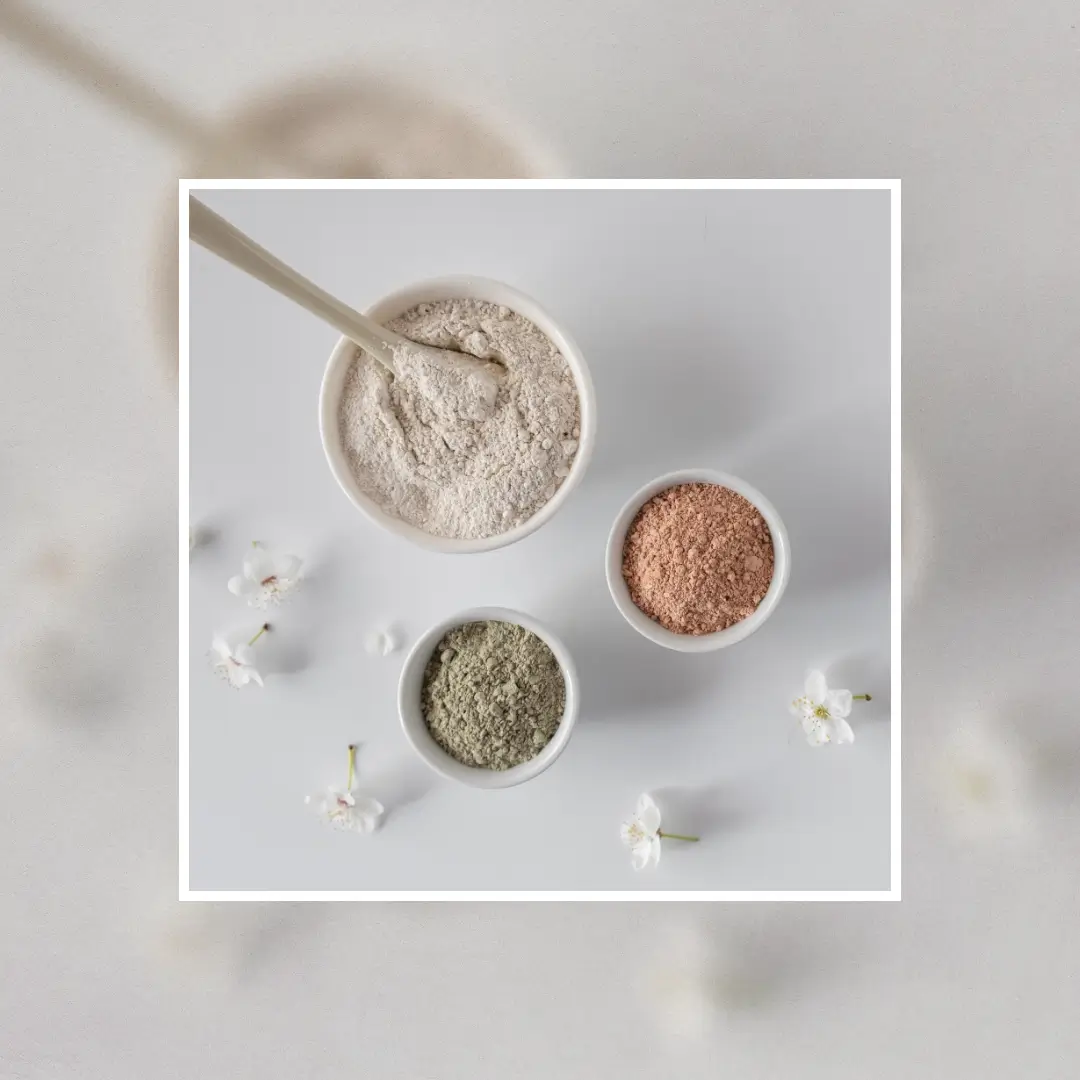
Ever dreamed of turning your bathroom into your very own high-end spa? Well, you’re in luck haha!
Forget those overpriced, chemical-laden beauty bars. Bentonite clay soap is all you need to fight excess oil and battle toxins to leave your skin feeling fresher than a daisy in spring.
And the best part? You can conjure up this magic potion right in your kitchen.
PIN FOR LATER 📌
This easy guide will walk you through the process step-by-step, ensuring you end up with a soap that’s both effective and gentle on your skin.
From soap-making novices who can barely boil water to DIY gurus with a PhD in Pinterest, this project is a great way to create a high-quality product using natural ingredients you might already have in your home.
Let’s get started!😁
What Is Bentonite Clay?
Before we get our hands dirty (or clean), let’s talk about the star of our show: bentonite clay.
Bentonite clay is a natural clay that forms from the weathering of volcanic ash.
Named after Fort Benton, Wyoming, where it was first discovered, bentonite clay is rich in minerals and has been used for centuries for its healing and detoxifying properties.
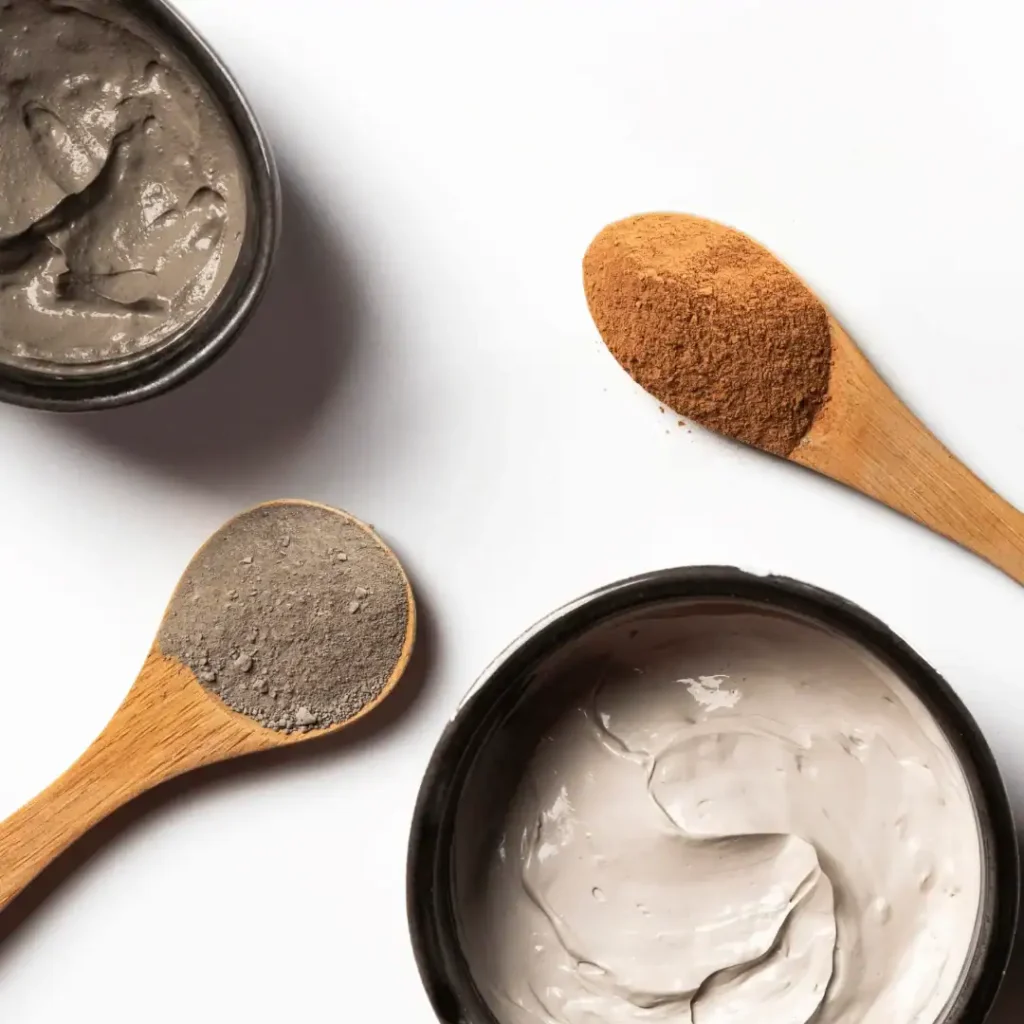
This clay is known for its ability to absorb and remove toxins, heavy metals, impurities, and chemicals.
When mixed with water, bentonite clay swells and produces a negative electrical charge, which attracts positively charged toxins and impurities.
This makes it a popular ingredient in skincare products, particularly for those with oily or acne-prone skin, as it helps to cleanse and purify the skin.


Bentonite Clay Benefits
Why should you care about this dusty relic from ancient times?
Here are a few reasons why bentonite clay is the Beyoncé of the skincare world:
- Detoxing: Bentonite clay is a detox powerhouse. It acts like a magnet, attracting and absorbing toxins, heavy metals, and impurities from your skin.
- Reduces Oil: If your skin is an oil slick by midday, bentonite clay is your new best friend. It helps balance oil production and leaves your skin feeling fresh and matte.
- Pore Perfectionist: This clay can help reduce the appearance of pores, giving your skin a smoother, more refined look. It’s like a real-life Instagram filter!
- Soothing: Bentonite clay has soothing properties that can calm irritated skin, making it a great addition for those with sensitive or acne-prone skin.
Now that I’ve hyped up the main ingredient, let’s get to the good stuff: making your own bentonite clay soap!
Ingredients You’ll Need
First things first, gather your ingredients. Here’s what you’ll need to create your very own batch of skin-loving bentonite clay soap:
- 1 cup of Olive Oil: This serves as the moisturizing base.
- 1 cup of Coconut Oil: Adds a rich lather and cleansing properties.
- 1 cup of Shea Butter: For extra hydration and creaminess.
- ½ cup of Castor Oil: Boosts the lather and adds conditioning.
- ¼ cup of Bentonite Clay: Our star ingredient!
- 1 cup of Distilled Water: To mix with lye.
- 4.5 oz of Lye (Sodium Hydroxide): The magic agent that turns oils into soap.
- Essential Oils (optional): For fragrance. Lavender, tea tree, and peppermint are great choices.
- Protective Gear: Gloves, goggles, and a long-sleeved shirt. Safety first! 🦺
The Soap-Making Process
Step 1: Safety First!
Before you start channeling your inner soap chemist, make sure to gear up. Lye can be dangerous if mishandled, so put on those gloves and goggles and work in a well-ventilated area.
Step 2: Prepare Your Lye Solution
Slowly add the lye to the distilled water (never the other way around) while stirring gently. This mixture will heat up quickly, so be careful. Let it cool to around 100°F.
Step 3: Melt the Oils and Butters
In a large pot, melt the olive oil, coconut oil, shea butter, and castor oil over low heat. Once everything is melted and mixed, let it cool to around 100°F.
Step 4: Mix the Lye Solution and Oils
Slowly pour the lye solution into the melted oils. Use a stick blender to mix until you reach “trace.” Trace is when the mixture thickens to the consistency of a light pudding.
Step 5: Add Bentonite Clay and Essential Oils
Once you’ve reached trace, add the bentonite clay and any essential oils you like. Mix well to ensure everything is evenly distributed.
Step 6: Pour Into Moulds
Pour your soap mixture into molds. You can use silicone molds, a lined loaf pan, or even fun shapes if you’re feeling creative. Smooth the top with a spatula.
Step 7: Let It Set
Cover your molds with a towel and let them sit in a safe place for 24 to 48 hours. Once the soap has hardened, pop it out of the molds.
Step 8: Cure the Soap
This is the hardest part—waiting! Place your soap bars on a drying rack and let them cure for 4 to 6 weeks. This allows the lye to fully saponify, making your soap gentle on the skin.