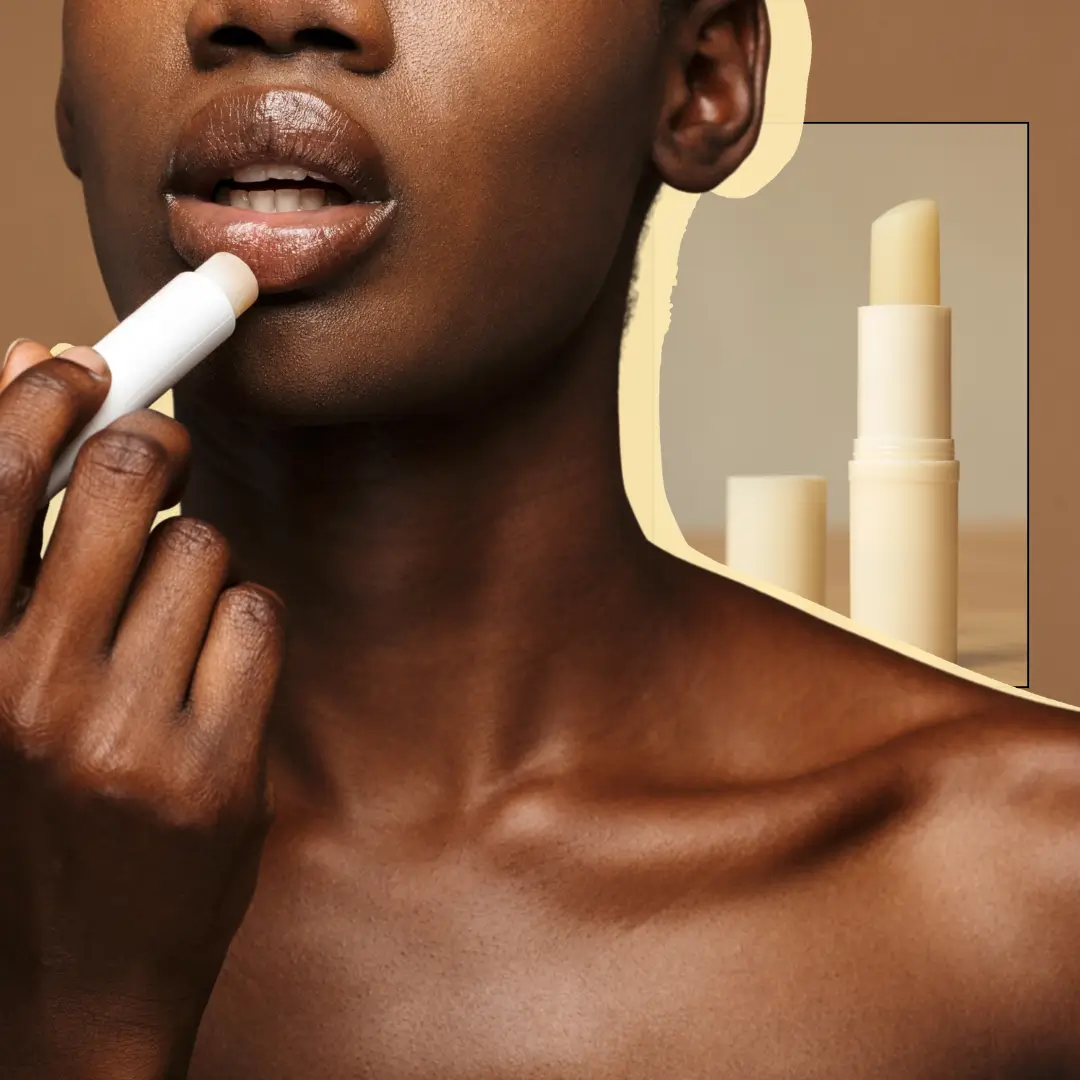
Store-bought lip balm has a sneaky little habit of disappearing. Into bags, between couch cushions, into the void.
And once you’ve read the ingredients list on most of them (a parade of unpronounceable chemicals), you start wondering if you could just, you know, make your own. 🤷🏽♀️
Turns out, you absolutely can. And I’m genuinely OBSESSED with the results!
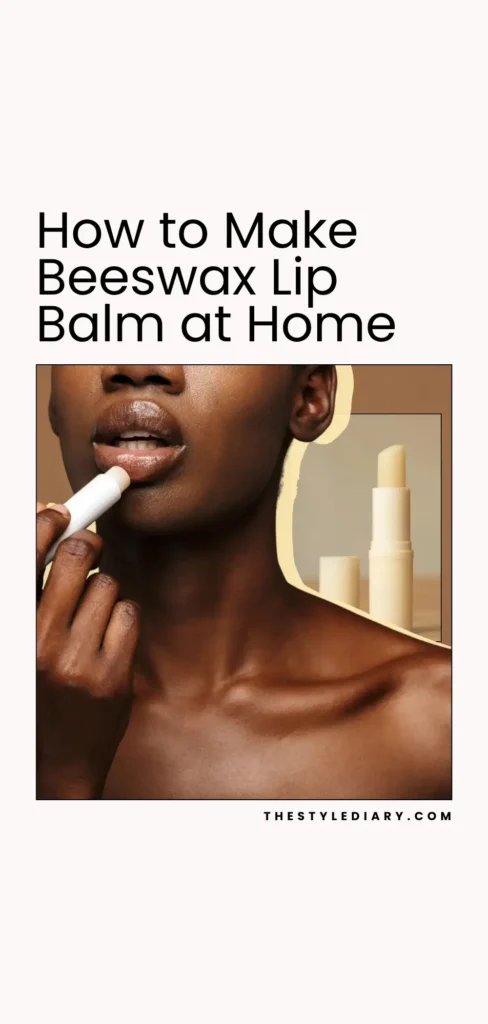
PIN FOR LATER 📌
This homemade beeswax lip balm recipe is one of those projects that sounds more complicated than it actually is.
You only need a handful of ingredients, about 20 minutes, and a few containers or tubes to pour it into.
That’s it.
The end result is a silky, nourishing balm that actually heals dry lips instead of just sitting on top of them.
It makes the cutest little gift, too.
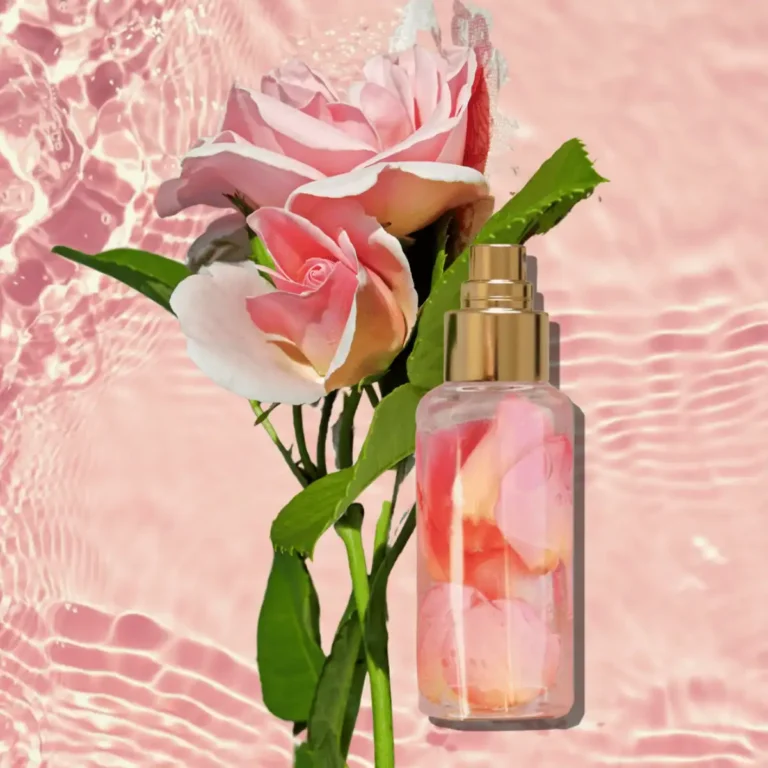
Why Beeswax?
Beeswax creates a protective barrier on your lips that locks in moisture without suffocating them, and it has a natural, subtle scent that makes everything feel a little more luxurious.
Unlike petroleum-based alternatives, beeswax is a natural ingredient that works with your skin, not against it.
Pair it with the right nourishing oils and butters, and you’ve got yourself something seriously good.
What You’ll Need
Here’s the full ingredient lineup for this DIY beeswax lip balm recipe.
Most of these you can find at a health food store or order online, and once you have them, you’ll have enough for multiple batches.
Makes approximately 10–12 tubes or small containers
- Beeswax pellets – The base of the whole recipe. Pellets melt more evenly than a block, which makes the process way easier.
- Shea butter – Rich, creamy, and deeply moisturizing. Shea is the ingredient that makes this balm feel indulgent rather than waxy.
- Coconut oil – Adds slip and hydration, and has natural antimicrobial properties. It also helps the balm glide on smoothly.
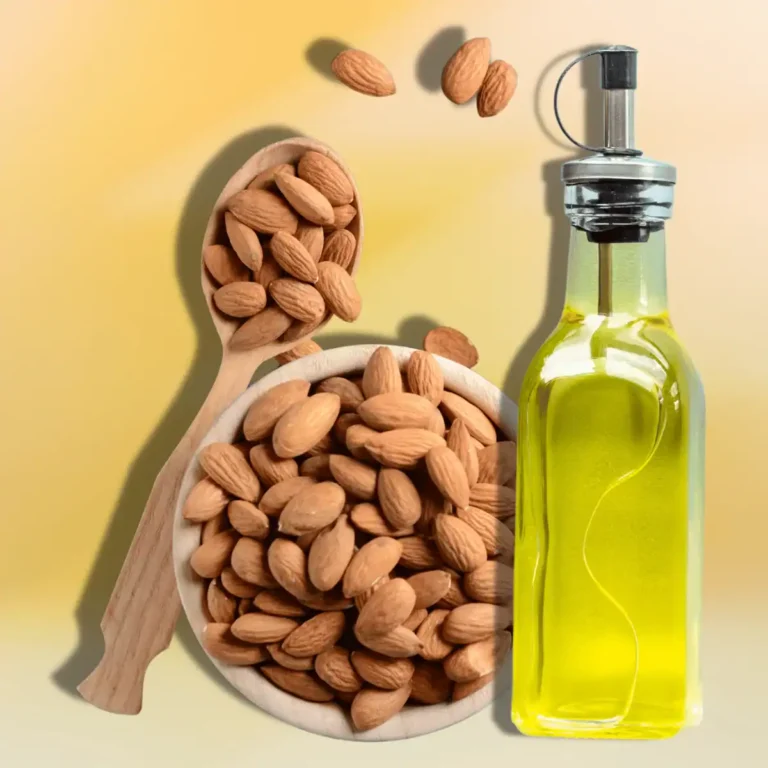
- Sweet almond oil – A lighter oil that absorbs easily and helps keep lips soft without any greasy residue. Almond oil is great for sensitive skin too.
- Essential oils – This is where you get to personalize. Peppermint essential oil is the classic choice — it gives lips a subtle tingle and makes the balm smell incredible. You could also use vanilla, lavender, or citrus oils, depending on your vibe.
- Raw honey (optional) – A small drop of honey adds humectant properties, meaning it draws moisture into your lips. It’s totally optional, but it’s a nice touch.


Equipment
- A double boiler (or a heatproof bowl set over a small saucepan)
- A silicone spatula or stirring stick
- A measuring scale or measuring spoons
- Lip balm tubes or small tins/containers
- A dropper or small pouring jug
The Basic Recipe
Ok, so here’s my go-to ratio for a perfectly balanced balm.
Feel free to tweak based on how firm or soft you like your lip balms — more beeswax means a firmer texture, less means something more like a gloss.
- 2 tablespoons beeswax pellets
- 2 tablespoons shea butter
- 2 tablespoons coconut oil
- 1 tablespoon sweet almond oil
- 10–15 drops peppermint essential oil (or your preferred essential oils)
- 1 teaspoon raw honey (optional)
How to Make It
Step 1: Set up your double boiler
Fill a small saucepan with about an inch of water and place a heatproof bowl on top. You want the bowl to sit above the water, not touching it. Bring the water to a gentle simmer over low heat — and keep it at low heat throughout. This is not the moment for high flames. Rushing the melt can affect the texture and degrade your oils.
Step 2: Melt the beeswax first
Add your beeswax pellets to the bowl and let them melt slowly, stirring occasionally. Beeswax has a higher melting point than the other ingredients, so it takes a few minutes. Be patient — it’s worth it!
Step 3: Add shea butter and coconut oil
Once the beeswax is fully melted, add in your shea butter and coconut oil. Stir everything together until completely combined and smooth. The mixture should look glossy and uniform.
Step 4: Add almond oil
Pour in the almond oil and give everything another good stir. At this point, your mixture should be silky and liquid — almost like a warm potion, honestly.
Step 5: Remove from heat and add your essential oils
This step matters: take the bowl off the heat before adding your essential oils. Heat can evaporate the volatile compounds in essential oils, which means you lose both the scent and the benefits. Add 10–15 drops of peppermint essential oil (or whichever oils you’ve chosen) and stir well. If you’re adding honey, this is the moment for that too.
Step 6: Pour into tubes or containers
Working quickly — because the mixture starts to set fast — carefully pour it into your lip balm tubes or containers. A small dropper or pouring jug makes this so much easier and way less messy. Fill to just below the top, since the balm will settle slightly as it cools.
Step 7: Let it set
Leave everything undisturbed at room temperature for about 20–30 minutes until completely firm. Don’t pop them in the fridge to speed things up — this can cause the balm to develop a white, uneven surface. Room temp is the move.
Tips for Getting It Right
- On temperature: Low and slow is the whole vibe here. High heat can cause your oils to lose their beneficial properties and your shea butter to develop a grainy texture once it cools.
- On tubes vs. tins: Both work great, but tubes are better for everyday use, and tins are easier to fill. If this is your first time, tins are more forgiving.
- On essential oil amounts: Less is more, especially with peppermint. It’s potent. Start with 10 drops and adjust from there — you can always add more before pouring.
- On honey: If you add honey, make sure to stir really well. Honey and oil don’t naturally want to combine, so a good mix is key to a smooth final product.
- On storage: These lip balms are preservative-free, so use them within 6–12 months for best results. Store in a cool, dry place away from direct sunlight.
Variations to Try
Once you’ve nailed the basic homemade beeswax lip balm, the fun part begins. A few of my favorite riffs on this recipe:
- Vanilla mint: Swap peppermint for a mix of peppermint and vanilla essential oil — warm, sweet, and so cozy.
- Citrus glow: Lemon or sweet orange essential oil gives a bright, fresh scent that’s perfect for summer.
- Tinted balm: Melt a tiny amount of lipstick or cosmetic-grade mica powder into the mixture before pouring for a sheer wash of color.
- SPF boost: Add a small amount of non-nano zinc oxide for a lip balm with light sun protection.
The Bottom Line
Making your own lip balm is one of those small, satisfying things that makes you feel a bit like you have your life together, even if the rest of the week says otherwise.
It takes minutes, costs less than most store-bought options in the long run, and you know exactly what’s going into it. Plus, your lips will genuinely thank you.
Once you try this DIY beeswax lip balm, I promise you’ll never go back to the drugstore version.