If your skincare shelf is starting to look like a graveyard of half-used lotions, I feel you.
Lotion bottles are honestly one of the most chaotic forms of self-sabotage in a skincare routine.
Lotion bars are the answer to all of that, and once I started making my own, I genuinely couldn’t go back.
PIN FOR LATER 📌
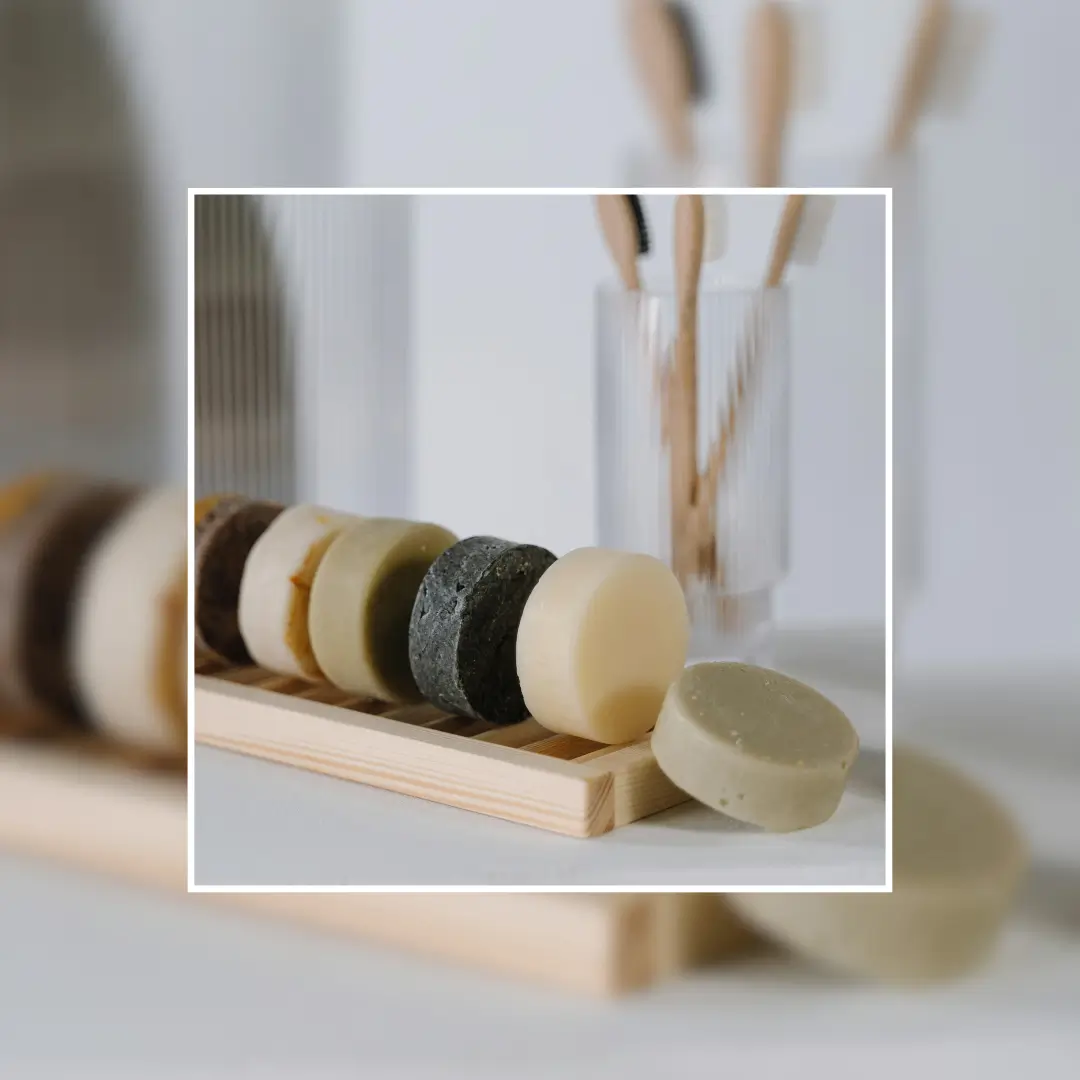
These DIY beeswax lotion bars are one of the most satisfying things you can make at home.
They look beautiful, they feel incredible on skin, and they’re made with ingredients you can actually pronounce.
Plus, zero plastic packaging. The fact that they double as a thoughtful handmade gift is just a bonus!
Here’s everything you need to know to make them yourself.
So, What Exactly Is a Lotion Bar?
Think of a lotion bar as a solid version of your favorite body lotion.
It’s firm at room temperature but melts on contact with your skin, leaving behind a layer of nourishing moisture that absorbs quickly without feeling greasy.
The beeswax is what holds everything together and gives it that satisfying solid texture, while the butters and oils do the actual skin-softening work.
No water, no preservatives, no mystery ingredients. Just GOOD stuff.
Why Beeswax Lotion Bars Are Worth Making
A few reasons I keep coming back to this recipe:
- They last. Because there’s no water in the formula, lotion bars have a much longer shelf life than traditional lotions. Made properly, they’ll stay good for up to a year.
- They travel well. No TSA liquid restrictions, no leaky bottles in your bag. Just toss one in a tin and go.
- They actually work. The combination of beeswax, shea butter, and coconut oil creates a moisture barrier on the skin that keeps hydration locked in for hours. My hands in winter have never been happier.
- They’re endlessly customizable. Swap the essential oils, add a little honey, adjust the ratios to make them firmer or softer. Once you have the base recipe down, you can really make it your own.


What You’ll Need
Most of these ingredients overlap with other DIY beeswax recipes, so if you’ve already made the lip balm, you’re probably halfway stocked already.
Makes approximately 6 medium lotion bars.
- Beeswax pellets: The structural backbone of the whole recipe. Beeswax gives the bars their solid shape and helps them glide on skin smoothly without melting in your hands before you’re ready.
- Shea butter: Rich and deeply nourishing, shea butter is the ingredient that makes these bars feel genuinely luxurious. It’s packed with vitamins A and E and absorbs beautifully without clogging pores.
- Coconut oil: Adds softness and slip to the formula, and brings natural antimicrobial properties along for the ride. It also helps the bar feel lighter on skin.
- Sweet almond oil: A gentler, lighter oil that balances out the richness of the shea and coconut. Almond oil is especially great for sensitive or dry skin and gives the finished bar a silky finish.
- Essential oils: Your chance to make this recipe truly yours. Lavender is calming and skin-loving. Peppermint gives a cool, tingly finish. Sweet orange feels like a mood boost in bar form.
- Raw honey (optional): A small amount adds humectant properties, pulling moisture into the skin rather than just sitting on top of it. Worth including if you have it on hand.
Equipment
- A double boiler (or a heatproof bowl set over a saucepan of simmering water)
- A silicone spatula
- A kitchen scale or measuring spoons
- Silicone molds (muffin molds work perfectly) or a lotion bar mold
- A small pouring jug or ladle
The Basic Recipe
This ratio gives you a firm bar that holds its shape at room temperature but melts beautifully on contact with warm skin.
If you prefer something slightly softer, reduce the beeswax by half a tablespoon and increase the shea butter to compensate.
- 3 tablespoons beeswax pellets
- 3 tablespoons shea butter
- 3 tablespoons coconut oil
- 1 tablespoon sweet almond oil
- 20 drops essential oils of your choice
- 1 teaspoon raw honey (optional)
How to Make Beeswax Lotion Bars
Step 1: Prep your molds
Before you start melting anything, get your molds set up and ready to go. Silicone molds are ideal because the bars pop out cleanly once set. Muffin tins work too, just line them with parchment paper first. Having everything ready before the mixture is liquid saves a lot of stress.
Step 2: Set up your double boiler
Fill a small saucepan with about an inch of water and place a heatproof bowl on top, making sure the bowl doesn’t touch the water. Bring it to a gentle simmer over low heat. Keeping the temperature low and steady is key throughout this whole process. High heat degrades the oils and can affect how the finished bars feel on skin.
Step 3: Melt the beeswax
Add your beeswax pellets to the bowl first. They have the highest melting point of all the ingredients, so they need the most time. Stir occasionally and let them melt fully before adding anything else. This usually takes around 5 minutes.
Step 4: Add the shea butter and coconut oil
Once the beeswax is completely melted, add the shea butter and coconut oil. Stir everything together until smooth and fully combined. The mixture should look glossy and uniform at this point.
Step 5: Add the almond oil
Pour in the sweet almond oil and stir again. Your mixture should now be silky, liquid, and a beautiful golden color if you’re using natural beeswax.
Step 6: Remove from heat, then add essential oils
Take the bowl off the heat completely before adding your essential oils. This is non-negotiable. Heat evaporates the volatile compounds in essential oils, which means you lose both the scent and the skin benefits. Add your drops, stir well, and if you’re using honey, add it now too and mix thoroughly.
Step 7: Pour into molds
Pour the mixture carefully into your prepared molds. Work relatively quickly since the beeswax lotion mixture starts to set faster than you’d expect, especially in a cool kitchen. Fill each mold to just below the top.
Step 8: Let them set at room temperature
Leave the bars completely undisturbed for at least an hour, ideally two, until they’re fully firm. Skip the fridge. Chilling the bars too quickly can cause the surface to become uneven or develop a whitish bloom. Room temperature is the move, every time.
Step 9: Unmold and store
Once completely set, pop the bars out of the molds. They should release easily from silicone. Store them in a tin, a small box, or wrapped in parchment paper in a cool, dry place away from direct sunlight.
How to Use a Lotion Bar
Using a lotion bar is genuinely one of life’s small pleasures.
Rub it between your palms or directly onto skin until a thin layer of product transfers.
The warmth of your skin does all the work. Then massage it in like you would a regular lotion. Focus on dry areas like elbows, knees, and hands for best results.
A little goes a long way, which is part of what makes these so good value over time.
Tips for Getting It Right
- On texture: More beeswax means a firmer bar. If yours feel too soft or melt too easily in warm weather, try increasing the beeswax by half a tablespoon in the next batch.
- On the honey: Honey and oil don’t naturally want to mix, so stir really well after adding it. If you notice separation, keep stirring until everything looks uniform before pouring.
- On essential oils: Aim for around 20 drops per batch as a starting point, but adjust based on how strong you want the scent. Some essential oils (like peppermint and eucalyptus) are more potent than others, so start conservatively.
- On molds: Silicone molds in round or oval shapes look the most polished. Heart shapes are cute too, especially if you’re making these as gifts. Avoid anything with very fine detail since the bars can be tricky to unmold cleanly from intricate shapes.
- On storage: Keep them away from heat and direct sunlight, which can cause softening or discoloration over time. A small tin is perfect for keeping one on your bathroom shelf or nightstand.
The Bottom Line
Making your own beeswax lotion bars takes about 20 minutes, and the results are genuinely better than most things you’d buy at a boutique wellness store, at a fraction of the price.
They’re practical, plastic-free, and deeply satisfying to use. I keep one on my nightstand and one in my bag at all times now, and my skin has never felt more consistently hydrated.
Once you try them, regular lotion is going to feel a little disappointing by comparison.